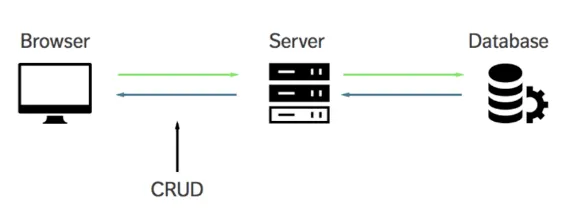
CREATE(Insert문)에 이어서 READ, DELETE 기능을 만들어 보자
Table of Content
조회 READ(select문) 기능
app.js의 조회 API 작성
우선 READ기능인 select 쿼리문을 실행할 수 있는 로직이 담긴 ‘/contactList’ 엔드포인트의 GET요청 API를 작성한다.
app.get('/contactList', (req, res) => {
// 커넥션 풀에서 커넥션을 얻어옵니다.
connectionPool.getConnection((err, connection) => {
if (err) {
console.error('MySQL 커넥션 얻는 중 에러 발생:', err);
res.status(500).send('내부 서버 오류');
} else {
const selectQuery = `
select * from contact order by id desc
`;
// 얻어온 커넥션을 사용하여 쿼리를 실행합니다.
connection.query(selectQuery, function (queryErr, result) {
// 쿼리 실행이 끝나면 반드시 커넥션을 풀에 반환합니다.
connection.release();
if (queryErr) {
console.error('데이터 조회 중 에러 발생:', queryErr);
res.status(500).send('내부 서버 오류');
} else {
console.log('데이터가 조회되었습니다.');
console.log(result);
res.render('contactList', {lists:result});
}
});
}
JavaScript
복사
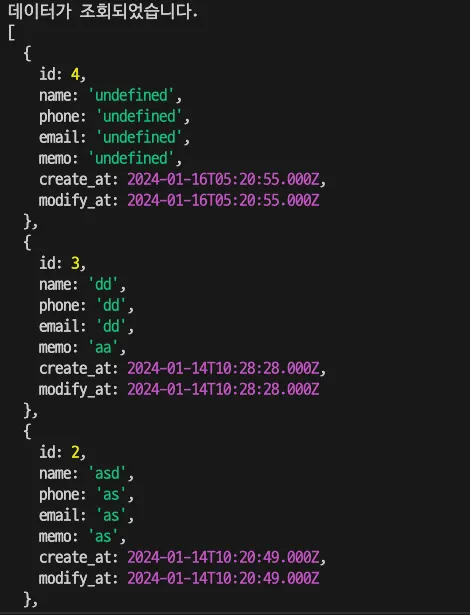
쿼리 결과로 result를 반환하며 lists라는 변수에 담아서 contactList.ejs로 render되도록 작성한다. 아래는 조회 결과인 result에 담긴 데이터이다.
목록 뷰 페이지 contactList.ejs
등록된 문의사항을 볼 수 있는 페이지를 만들어보자.
API에서 lists에담긴 데이터들은 forEach를 통해 테이블을 통해서 데이터들을 순회하면서 1개의 데이터(row)마다 tr태그를 생성하도록 설정한다. ejs 템플릿의 반복문 및 대입 문법인 <% … %>에서 forEach와 =대입연산자를 활용해야 한다.
<%-include('header.ejs')%>
<h2>문의 목록입니다.</h2>
<table border=1>
<tr>
<th>id</th>
<th>name</th>
<th>phone</th>
<th>email</th>
<th>content</th>
<th>create_at</th>
<th>modify_at</th>
</tr>
<% lists.forEach(function(item) { %>
<tr>
<td><%=item.id%></td>
<td><%=item.name%></td>
<td><%=item.phone%></td>
<td><%=item.email%></td>
<td><%=item.memo%></td>
<td><%=item.create_at%></td>
<td><%=item.modify_at%></td>
</tr>
<% }) %>
</table>
<%-include('footer.ejs')%>
JavaScript
복사
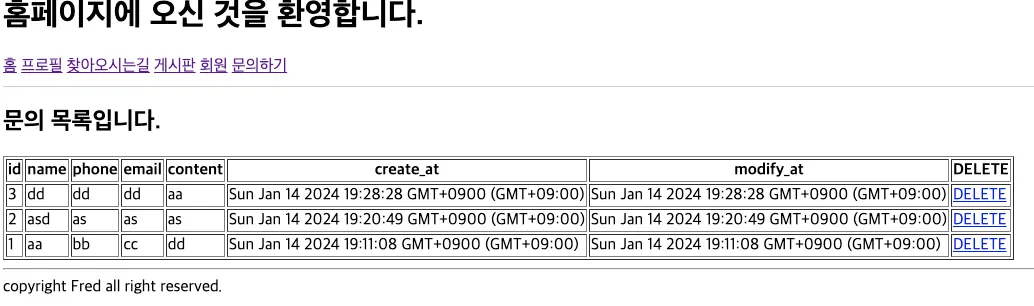
서버를 실행하여 contactList 엔드포인트의 API로 요청하면 다음과 같이 데이터베이스의 자료를 조회한 데이터를 목록으로 볼 수 있다.
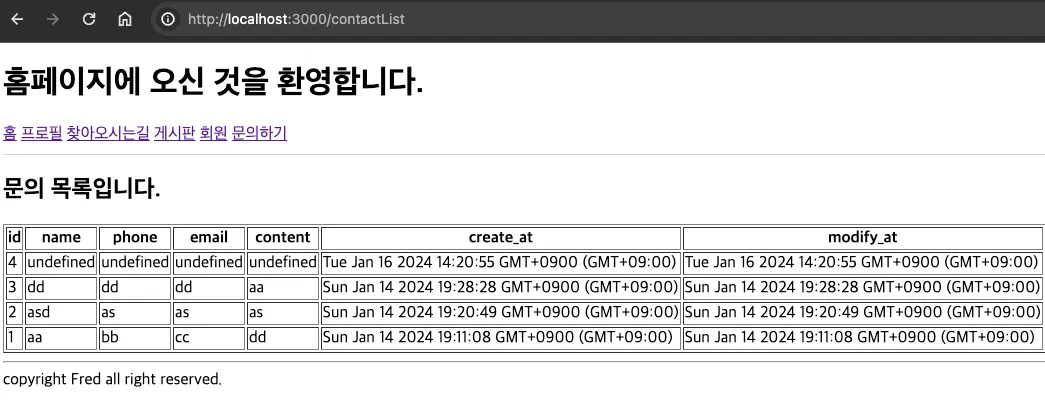
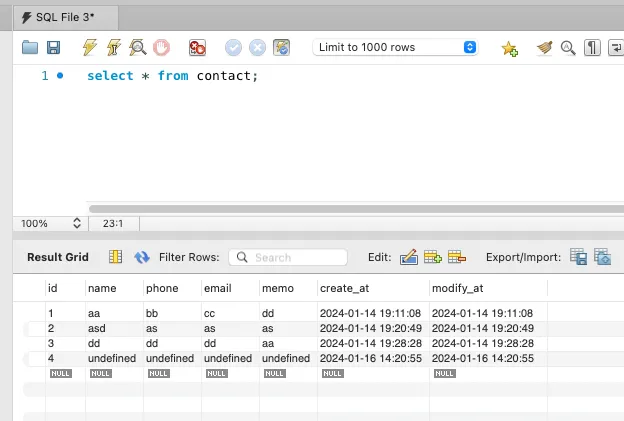
데이터베이스에서 쿼리로 조회한 자료와 같은 것을 확인 할 수 있다.
삭제 기능 DELETE
app.js에 삭제 API 추가
각 문의사항마다 삭제할 수 있는 기능을 추가하고자 한다. 우선 삭제 쿼리문 로직이 담긴 API를 작성한다. 특정 게시글을 삭제 할 수 있도록 url PathVariable로부터 id 값을 받아와서 변수에 할당해두고 delete 쿼리문에서 where절에 해당 id를 특정하여 삭제한다.
app.post('/api/contactDelete/:id', function (req, res) {
const id = req.params.id;
// 커넥션 풀에서 커넥션을 얻어옵니다.
connectionPool.getConnection((err, connection) => {
if (err) {
console.error('MySQL 커넥션 얻는 중 에러 발생:', err);
res.status(500).send('내부 서버 오류');
} else {
const deleteQuery = `
delete from contact where id='${id}'
`;
// 얻어온 커넥션을 사용하여 쿼리를 실행합니다.
connection.query(deleteQuery, function (queryErr, result) {
// 쿼리 실행이 끝나면 반드시 커넥션을 풀에 반환합니다.
connection.release();
if (queryErr) {
console.error('데이터 삭제 중 에러 발생:', queryErr);
res.status(500).send('내부 서버 오류');
} else {
console.log('데이터가 삭제되었습니다.');
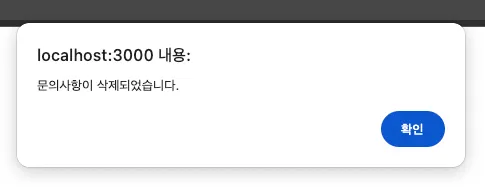
res.send("<script>alert('문의사항이 삭제되었습니다.'); location.href='/contactList'</script>");
}
});
}
});
});
JavaScript
복사
뷰페이지에서 삭제 요청 추가 contactList.ejs
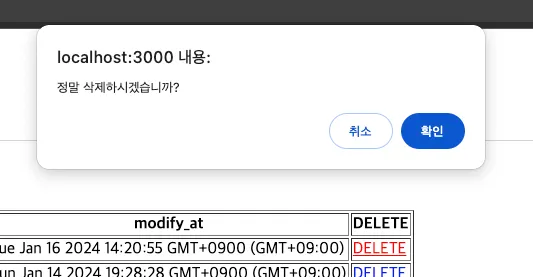
우선 HTML 테이블에 각 글마다 버튼 링크가 생성되도록 수정한다. 링크에 글의 고유값(PK)인 id를 활용하여 해당 글을 특정 할 수 있도록 한다. 삭제의 confirm 이벤트를 추가하여 1차적인 확인 과정을 추가해둔다.
<%-include('header.ejs')%>
<h2>문의 목록입니다.</h2>
<table border=1>
<tr>
<th>id</th>
<th>name</th>
...
<th>DELETE</th>
</tr>
<% lists.forEach(function(item) { %>
<tr>
<td><%=item.id%></td>
<td><%=item.name%></td>
...
<td><%=item.modify_at%></td>
<td>
<form action="/api/contactDelete/<%=item.id%>" method="post">
<button type="submit" onclick="return confirm('정말 삭제하시겠습니까?')">DELETE</button>
</form>
</td>
</tr>
<% }) %>
</table>
<%-include('footer.ejs')%>
JavaScript
복사
삭제 버튼의 URL을 통해 삭제 API로 요청과 id가 전달되며 아래와 같이 정상적으로 데이터가 삭제되는 것을 확인 할 수 있다.